(Day 17) - Advent of Cyber
Splunk SIEM
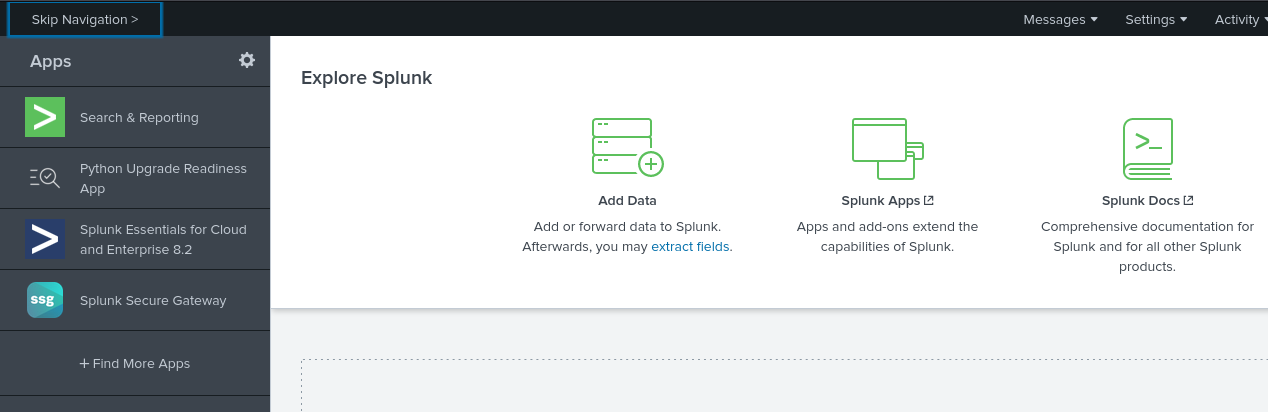
Upon viewing the application we first see the following screen:
We will head towards search and reporting tab and show all logs by filtering by index=* for logs from all time.
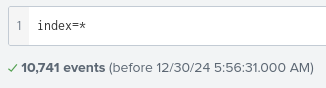
There we see that there are over 10,000 events that we will need to sort through, to narrow down the logs, by looking at the sourcetype field, we see that there are two datasets that the logs come from. They are weblogs and cctvlogs, considering that the main issue was about cctvlogs we will filter the logs for just the cctvlogs.

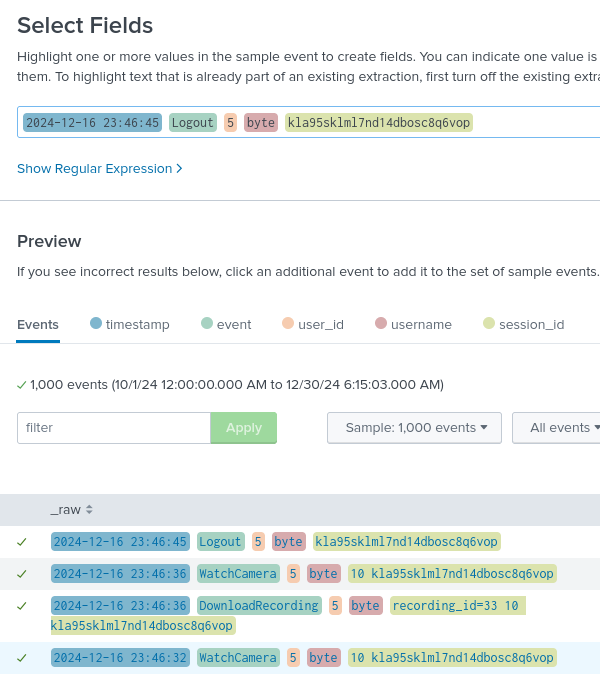
Field Extraction
To get the fields and be able to sort them and look for commonalities, we will have to extract the fields, although some of the fields end up being in a different format, we will extract the fields simply and fix it later. To do this we will make use of a regex.
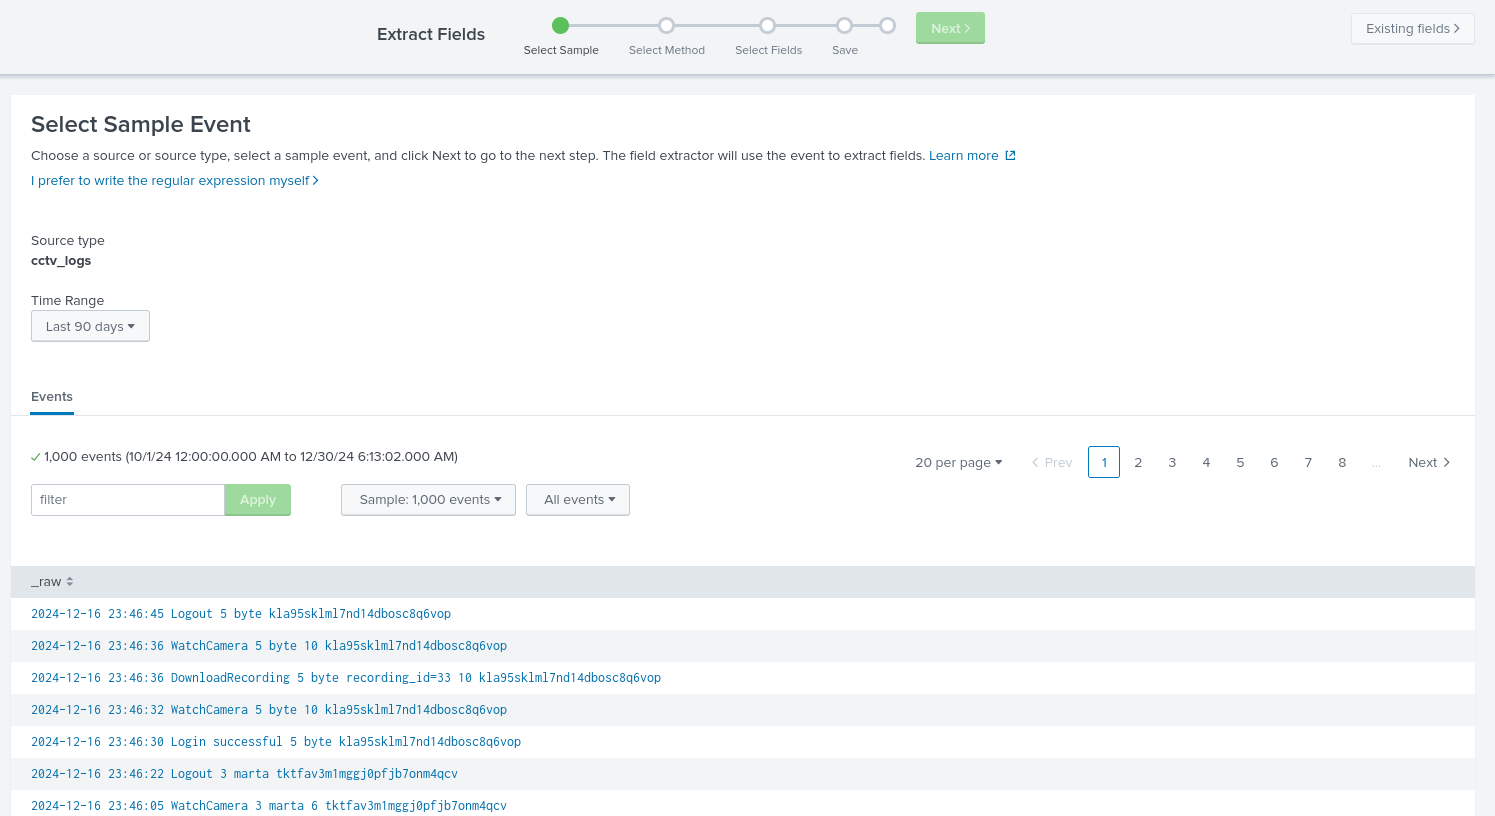
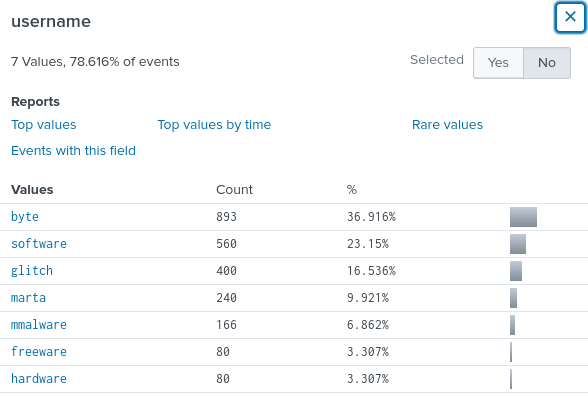
However, we see that some fields do not work with this regex:

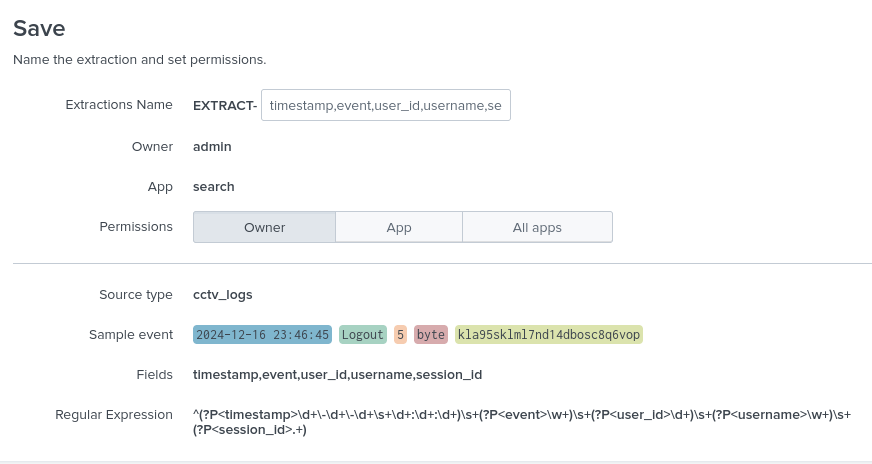
We will now save the logs:
Then we will click Explore the fields I just created in Search by which we can now see, organize and sort logs by individual and common fields, e.g.:
However, due to the fact that some logs are incorrectly represented, we will need to remove the field extraction and replace it with a new one so that specific logs that are interesting or have helpful details are not filtered out. So to delete the field extraction we will do the following:
- Head to Settings > fields.
- Field Extractions
- Filter by "cctv".
- Delete the regex.
Now we will update the regex by clicking Open Field Extractor:
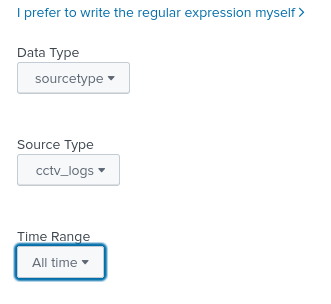
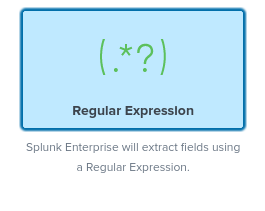
Now after selecting the above we will click I prefer to write the regular expression myself. We will then input the following regex:
^(?P\d+\-\d+\-\d+\s+\d+:\d+:\d+)\s+(?P(Login\s\w+|\w+))\s+(?P\d+)?\s?(?P\w+)\s+.*?(?P\w+)$
Then we will click save, then finish, then click Explore the fields I just created in search.
CCTV Events Analysis
We will filter the events using the following query:
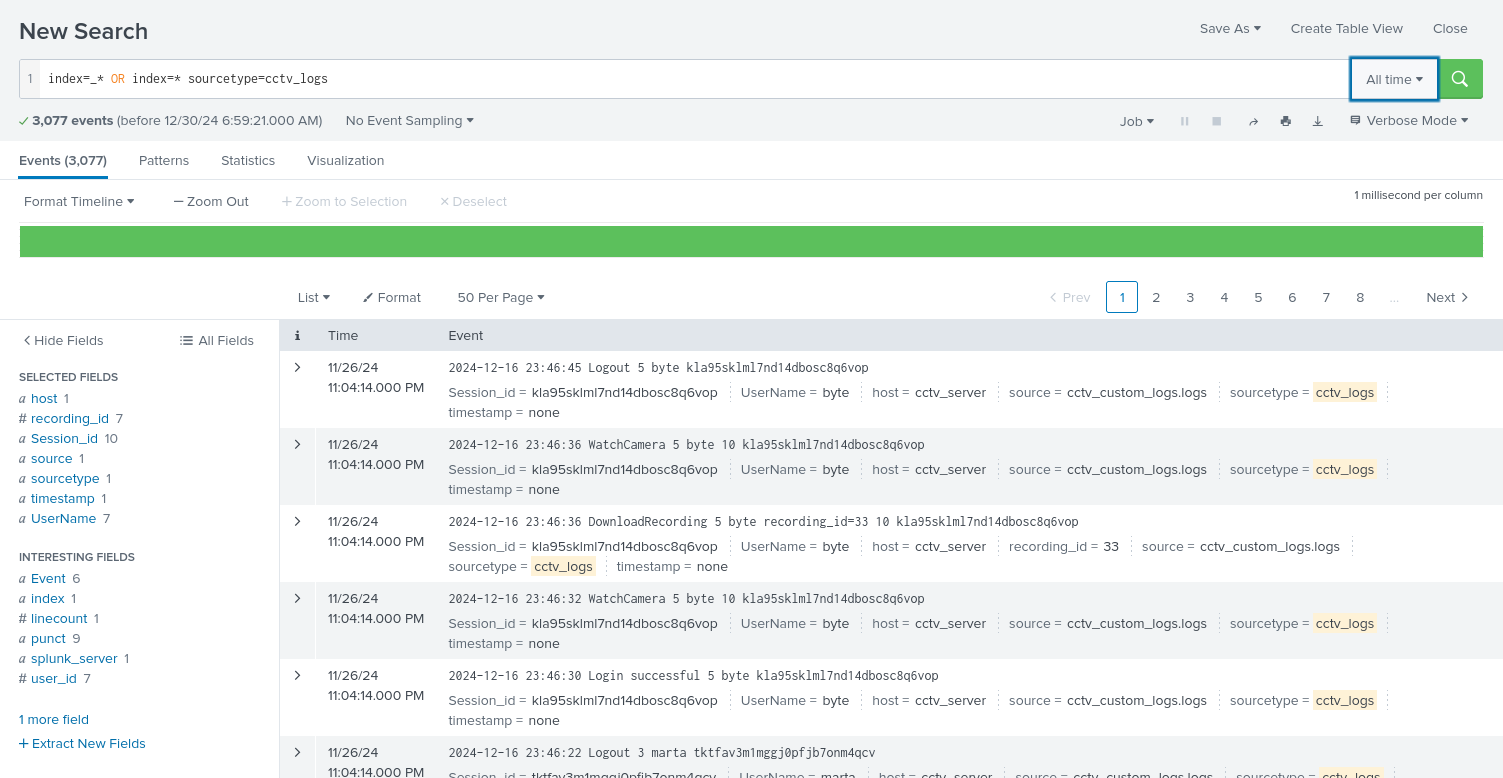
index=cctv_feed | stats count(Event) by UserName
From this filter, we receive the following output:
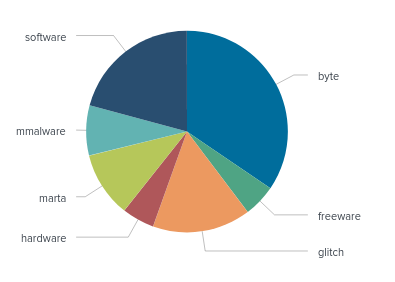
index=cctv_feed | stats count by Event
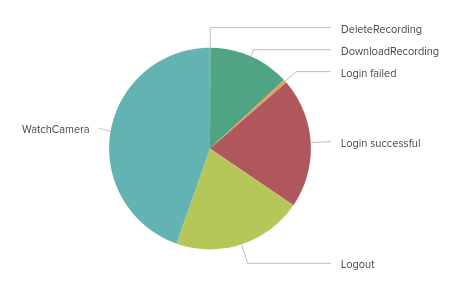
Now we will take a look at rare events:
index=cctv_feed | rare Event
It seems that there are quite a few failed login attempts, we will now filter the logs to see who was failing this login attempts.
index=cctv_feed *failed* | table _time UserName Event Session_id
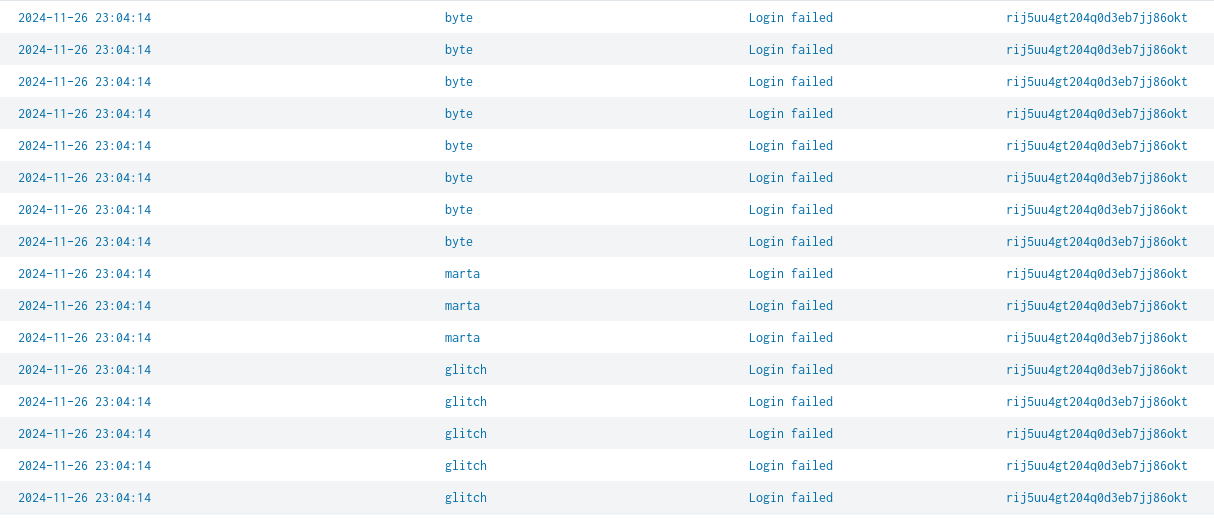
There we see that there are failed login attempts to many accounts using the same session id. So we can see that whoever is using this session id is likely to be the infiltrator so now we shall search for that specific session id to find out more information about the attacker. We will do this using the following filter:
index=cctv_feed *rij5uu4gt204q0d3eb7jj86okt* | table _time UserName Event Session_id
There we are able to see exactly what the suspected user did in relation to the application. Now we can try and see how many of these deletion events occurred using the following:
`index=cctv_feed *Delete*`
Here we see that we have 2 cctv deletion requests by that same session/user:

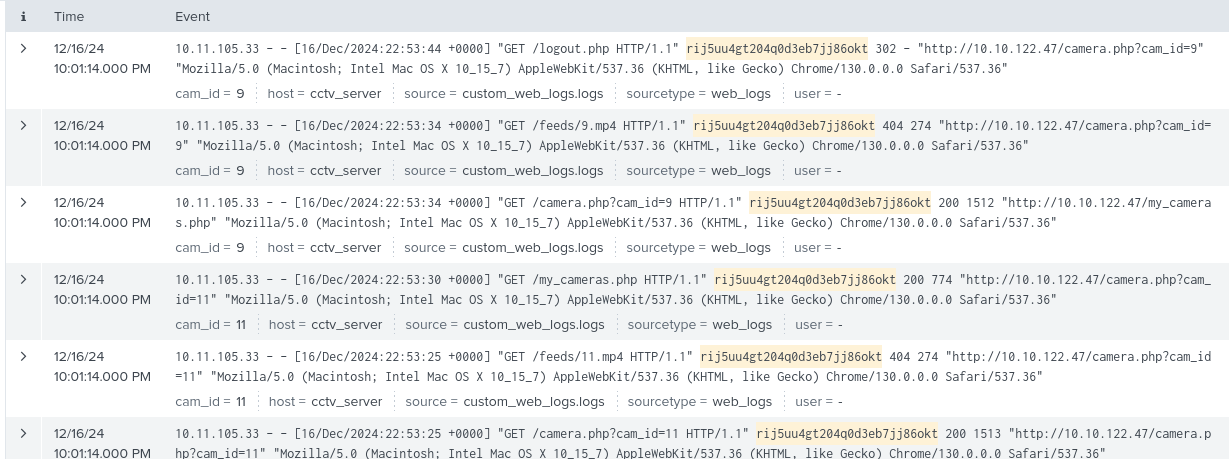
Now what we can do is correlate what the user with that same session token did on the web application using the following filter:
index=web_logs *rij5uu4gt204q0d3eb7jj86okt*
Using this filter we see 41 related web logs:
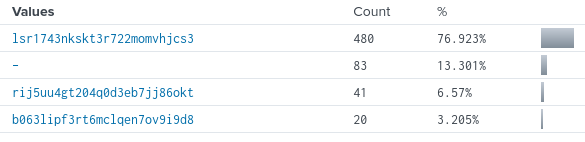
Looking at the clientip field we can see that all of the logs come from one IP address:

Now filtering the web logs for that specific IP address, we are able to see that there are more than just one session id used:
index=web_logs clientip="10.11.105.33" | table _time clientip status uri ur_path file
Looking at the status of the following commands, we see:
Looking at the first session id, it looks like that id had done a lot of things, so if we were to search for this session id in the cctv logs we should be able to see interesting things, we can do this by filtering using:
index=cctv_feed *lsr1743nkskt3r722momvhjcs3*
From this filter we are able to identify the username of the attacker:
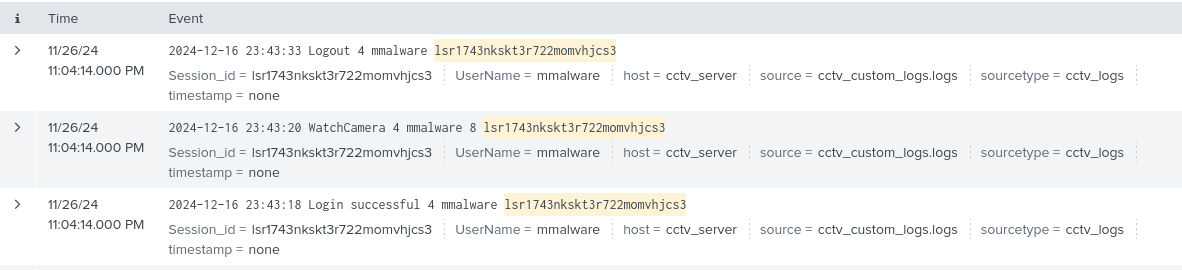
mmalware